
Island Trail Markers Explained: Reading Paint Blazes, Cairns, and Signposts
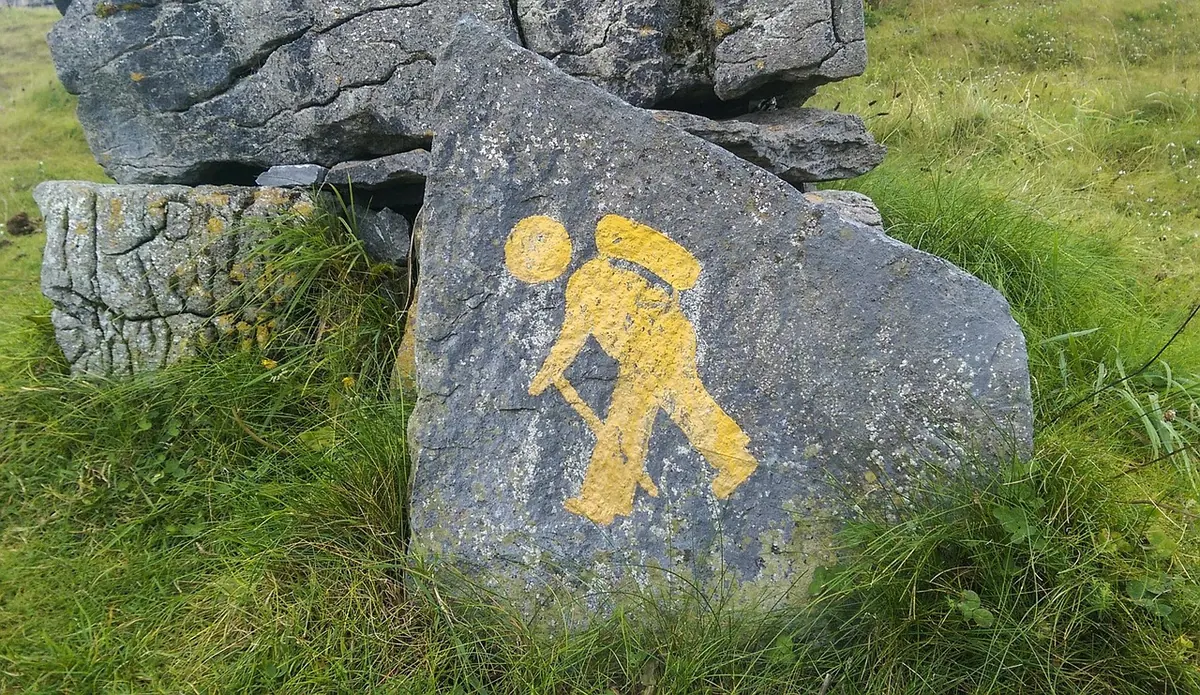
On an island, a trail is rarely one obvious line. It might be a smear of red paint on a limestone boulder, a stack of stones on a bare ridge, or a wooden post whose arrow has swollen shut in the salt air. Learning to read those three kinds of markers — and learning what they don't promise — is the difference between a confident morning and an hour spent circling the same hillside. The language of trail marking is small and learnable, even when the paint is twenty years old.
Paint blazes: the language of two strokes
A paint blaze is the most common marker you'll meet, and the least self-explanatory. In the Alpine and Mediterranean long-distance tradition, a route is marked with paired bands — usually red and white — painted on rock, on tree trunks, or on the occasional concrete post. A single colour, such as a red dot, a yellow stripe or a blue arrow, more often belongs to a local loop. The colour can change from one island to the next, and sometimes between two loops on the same island, so the first thing to note at a trailhead is exactly what you're following today.
Position matters as much as colour. Blazes sit at knee or chest height, on the side of the rock that faces the walker coming towards it. They appear at bends, at junctions, after gates, and just before a stretch where the path stops looking like a path. A straight two-stroke blaze means "carry on". An arrow, or a stroke bent at an angle, points the way the route actually turns — sometimes straight up a slab that looks unpromising. A cross or a blob with a line through it generally means "not this way", though not every local committee uses it, so treat it as a hint rather than a rule.
The most useful skill is noticing rhythm. On a well-maintained route, marks arrive every few minutes. If you've been walking a quarter of an hour without seeing one, you have almost certainly left the marked line — even if the path under your feet is broad and inviting.
Reading faded paint
Older markings are still readable if you know where to look. Sun bleaches paint on south-facing rock until it turns the colour of weak tea; north-facing surfaces hold colour far longer. Look for the ghost of a rectangle rather than a crisp shape, and for paint inside the small hollows where rain doesn't wash it. Try tilting your head: a mark that vanishes in flat light often reappears when you view it from a metre to the side. If a blaze is genuinely gone, the next evidence is usually the path itself — a worn line, a step cut into rock, a gap in the scrub, a strand of old fencing wire. Old marks also hide under lichen, overhanging branches and, on grazing islands, at exactly the height a goat can rub against.
Cairns: stone piles with a job to do
Where paint won't survive — lava fields, granite plateaus, windy summits, stretches above the tree line — route-finding falls to cairns. A route cairn is usually a modest stack, three to six stones, deliberately balanced and often placed on the highest convenient point so it shows against the sky. On some islands you'll see one larger pile with a pale stone or a flat slate on top; that's often the marker for a junction or a change of direction rather than a simple "continue".
Not every pile of stones is a route cairn. Shepherds' shelters, boundary markers, cleared field stones, survey points and memorials all look similar from a distance, and following one of those can lead you somewhere genuinely awkward. Route cairns tend to appear in a line, at regular intervals, along ground a person would plausibly walk. A single stack beside a stone wall, or a heap next to a cultivated terrace, is usually telling you something about land use, not about the path.
Two habits are worth keeping. First, don't add stones: a cairn that grows becomes a landmark, and a landmark can pull the next walker off route. Second, in mist or low cloud, don't leave a cairn until you can see the next one. If you can't, walk a slow arc from the cairn you're at, keeping it in sight, and return to it before trying another direction.
Signposts and the conventions behind them
Island signposts are a mixed population: carved wooden fingerposts, painted metal plates, plastic tabs screwed to trees, and hand-lettered boards at village edges. Read them for four things — destination, direction, walking time and route identifier. The time is calculated for a reasonably fit adult with a light pack and no stops; in summer heat, with children, or with a camera, it is optimistic. Add a third again and you'll be closer to the truth.
Local vocabulary is worth decoding before you set out. In Italy you'll meet sentiero (path), mulattiera (mule track, usually wide and stone-paved), tratturo (a historic droving route), and cammino (a longer itinerary, often with its own badge). Names repeat: the same headland may appear as Punta, Capo or a local dialect word on different signs. Route numbers are helpful but not sacred — they get renumbered when a committee changes, and a number on a post may not match the number on your map.
- Fingerpost with an arrow: the direction of the sign, not the shape of the arrow, is what counts.
- Two names on one post: usually one place each way, but check distances as well as names.
- Signs in one language only: common on smaller islands; the local name may differ from the map's.
- Missing sign: assume the post was removed, not that the route ended.
Reading junctions: a short procedure
Junctions are where most wrong turns happen, and they deserve a pause rather than a guess. When the markings stop making sense, work through this in order.
- Stop at the last mark you are certain of, and turn around. The view back is the view you'll need if you have to retreat, and it often reveals the blaze you walked past.
- Scan at three heights: knee, chest and above head. Then scan the far side of the gully or the rock face opposite — markers are often placed to be seen from a distance, not from where you're standing.
- Compare the marked line with the obvious line. Where they disagree, trust the paint over your instincts; the path builders had a reason.
- Give yourself a limit — ten or fifteen minutes of searching, no more — then walk back to the last confirmed mark and start again from there.
- Photograph the junction before you commit. A picture of a particular boulder will settle an argument later.
Markers that mean something else
Island paths are shared with hunters, shepherds, woodcutters and landowners. A red-white band on a gatepost may mark a property boundary. Tape tied to branches often marks a temporary track for forestry or hunting, and it can vanish within a season. Faint blazes cut into bark are old forestry marks, not hiking routes. Paths worn down to bare earth by goats can look more convincing than the real trail, and beach paths made by swimmers rarely go anywhere useful. On islands where trails cross private land by permission, markings can be painted over or removed entirely; if a sign says proprietà privata, take it at face value and find the alternative.
A practical routine before you set off
Note the blaze colour and any route number for the day's stage. Photograph the trailhead board, including the map panel, because it often carries a local route diagram you won't find elsewhere. Ask at the bar or the village shop whether the markings are current — a two-minute conversation saves a lot of standing about. Carry a paper map or an offline map on your phone, and treat markers as confirmation rather than as your only plan. Finally, remember that island weather changes the rules: paint and cairns both disappear in sea fog, and a route that is obvious at nine in the morning can be genuinely tricky by four. Read the markers, keep a little skepticism, and the hill will tell you where it wants you to go.
Photo: cattu / Pixabay